In the previous part (Dashboard: build in SimNav part 1) you could see that the navigation device was installed in the dashboard. The second part of this job is trying to fit everything back together in the plane.
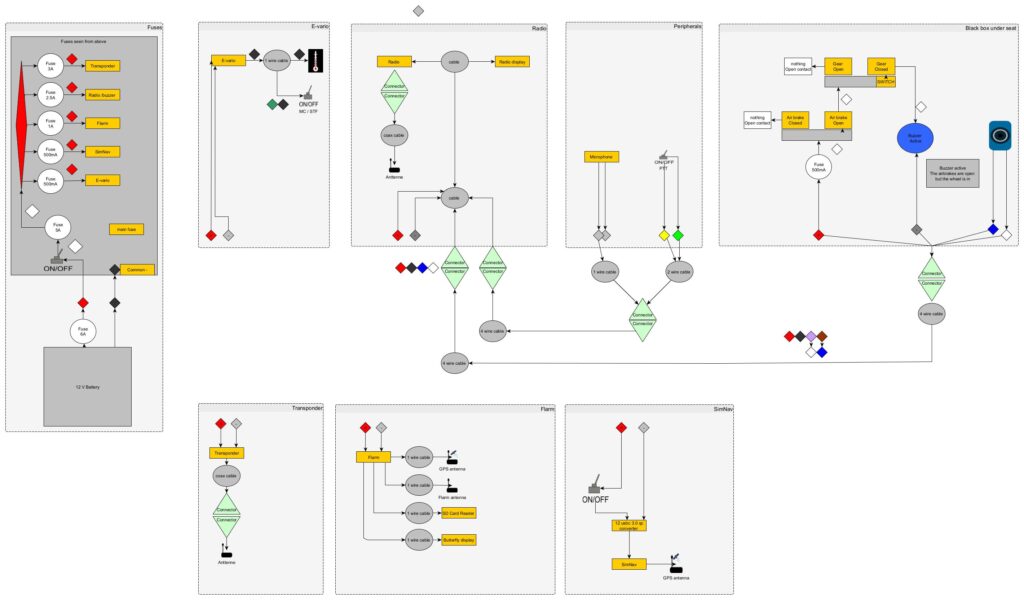
Before we take the dashboard back to the plane lets document some of the wiring harness. I will admit this is not looking too professional but at least It will help if you have to change something in the future.
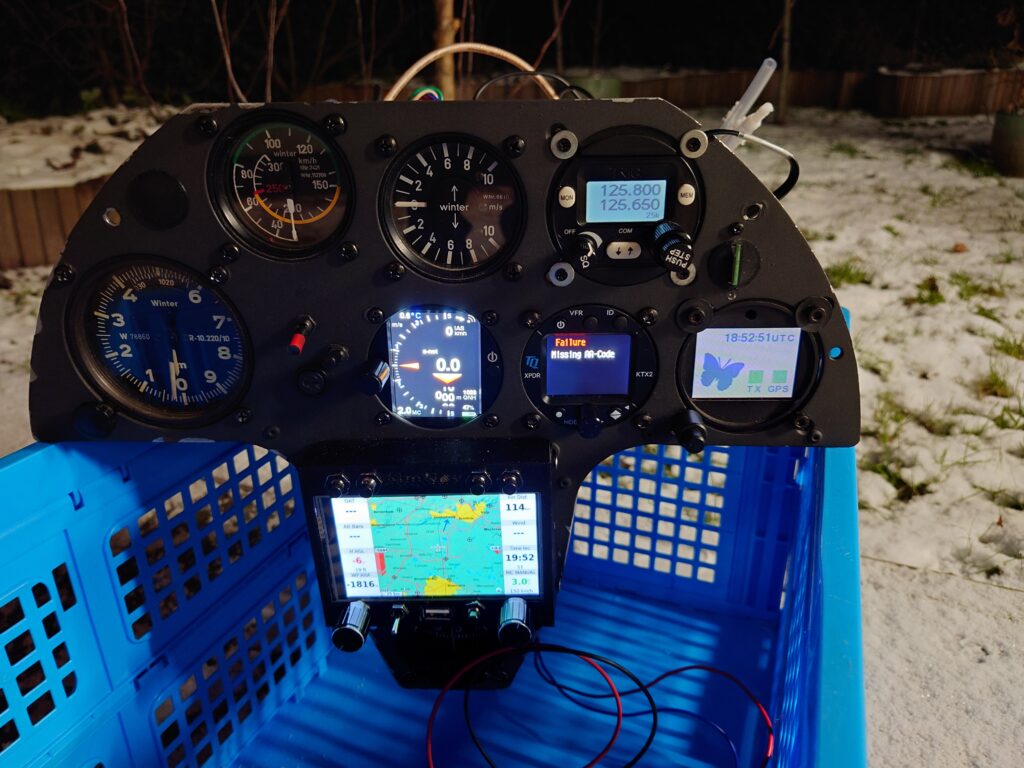
Because time is going fast and the flying season is on the horizon I decided to test fit the panel. I went to the plane and did my best guess what ? it didn’t fit :(. Unfortunately the transponder box hit one of the ventilation channels. One positive thing was that the electric connectors where ok.
At home I switched the radio, flarm and transponder and with a little bit of effort the problem was solved.
Luckily a few nights where -7C so I could also use this oppurtunity to do some more “field” tests with low temperatures to check if everything operate as expected. Luckily everything went well. I had to change some settings in the navigation device because it was still trying to connect to Condor (flight simulator) instead of my Xcvario. Futhermore the frozen battery pack lost almost 25% of its capacity but that is not abnormal I guess.
So time to connect the tubes and finally install the instrument panel.
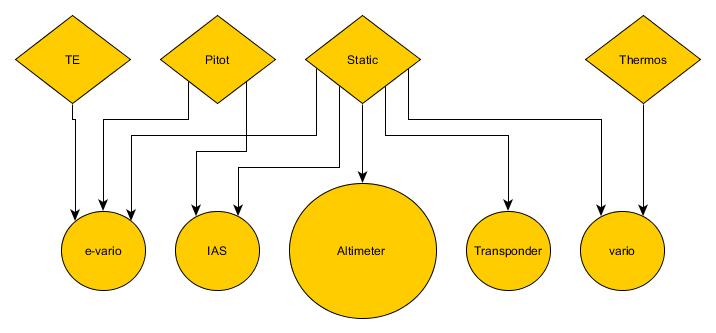
In this picture you can see the connections between the instruments and the air inlets. A very short explanation: Speed, height and climb rate are determined by measuring air pressures. In some cases an instrument add, combines or substract air pressures to determine a value. The air “inlets” are found on different places on the plane such as the nose (pitot) , side and tailboom (static). Some are special the TE is a venturi on the tail and delivers a negative pressure for compensation. The thermos is an insulated flask (0.5L) with a tube to the variometer.
Back to the hangar and fit everything :).

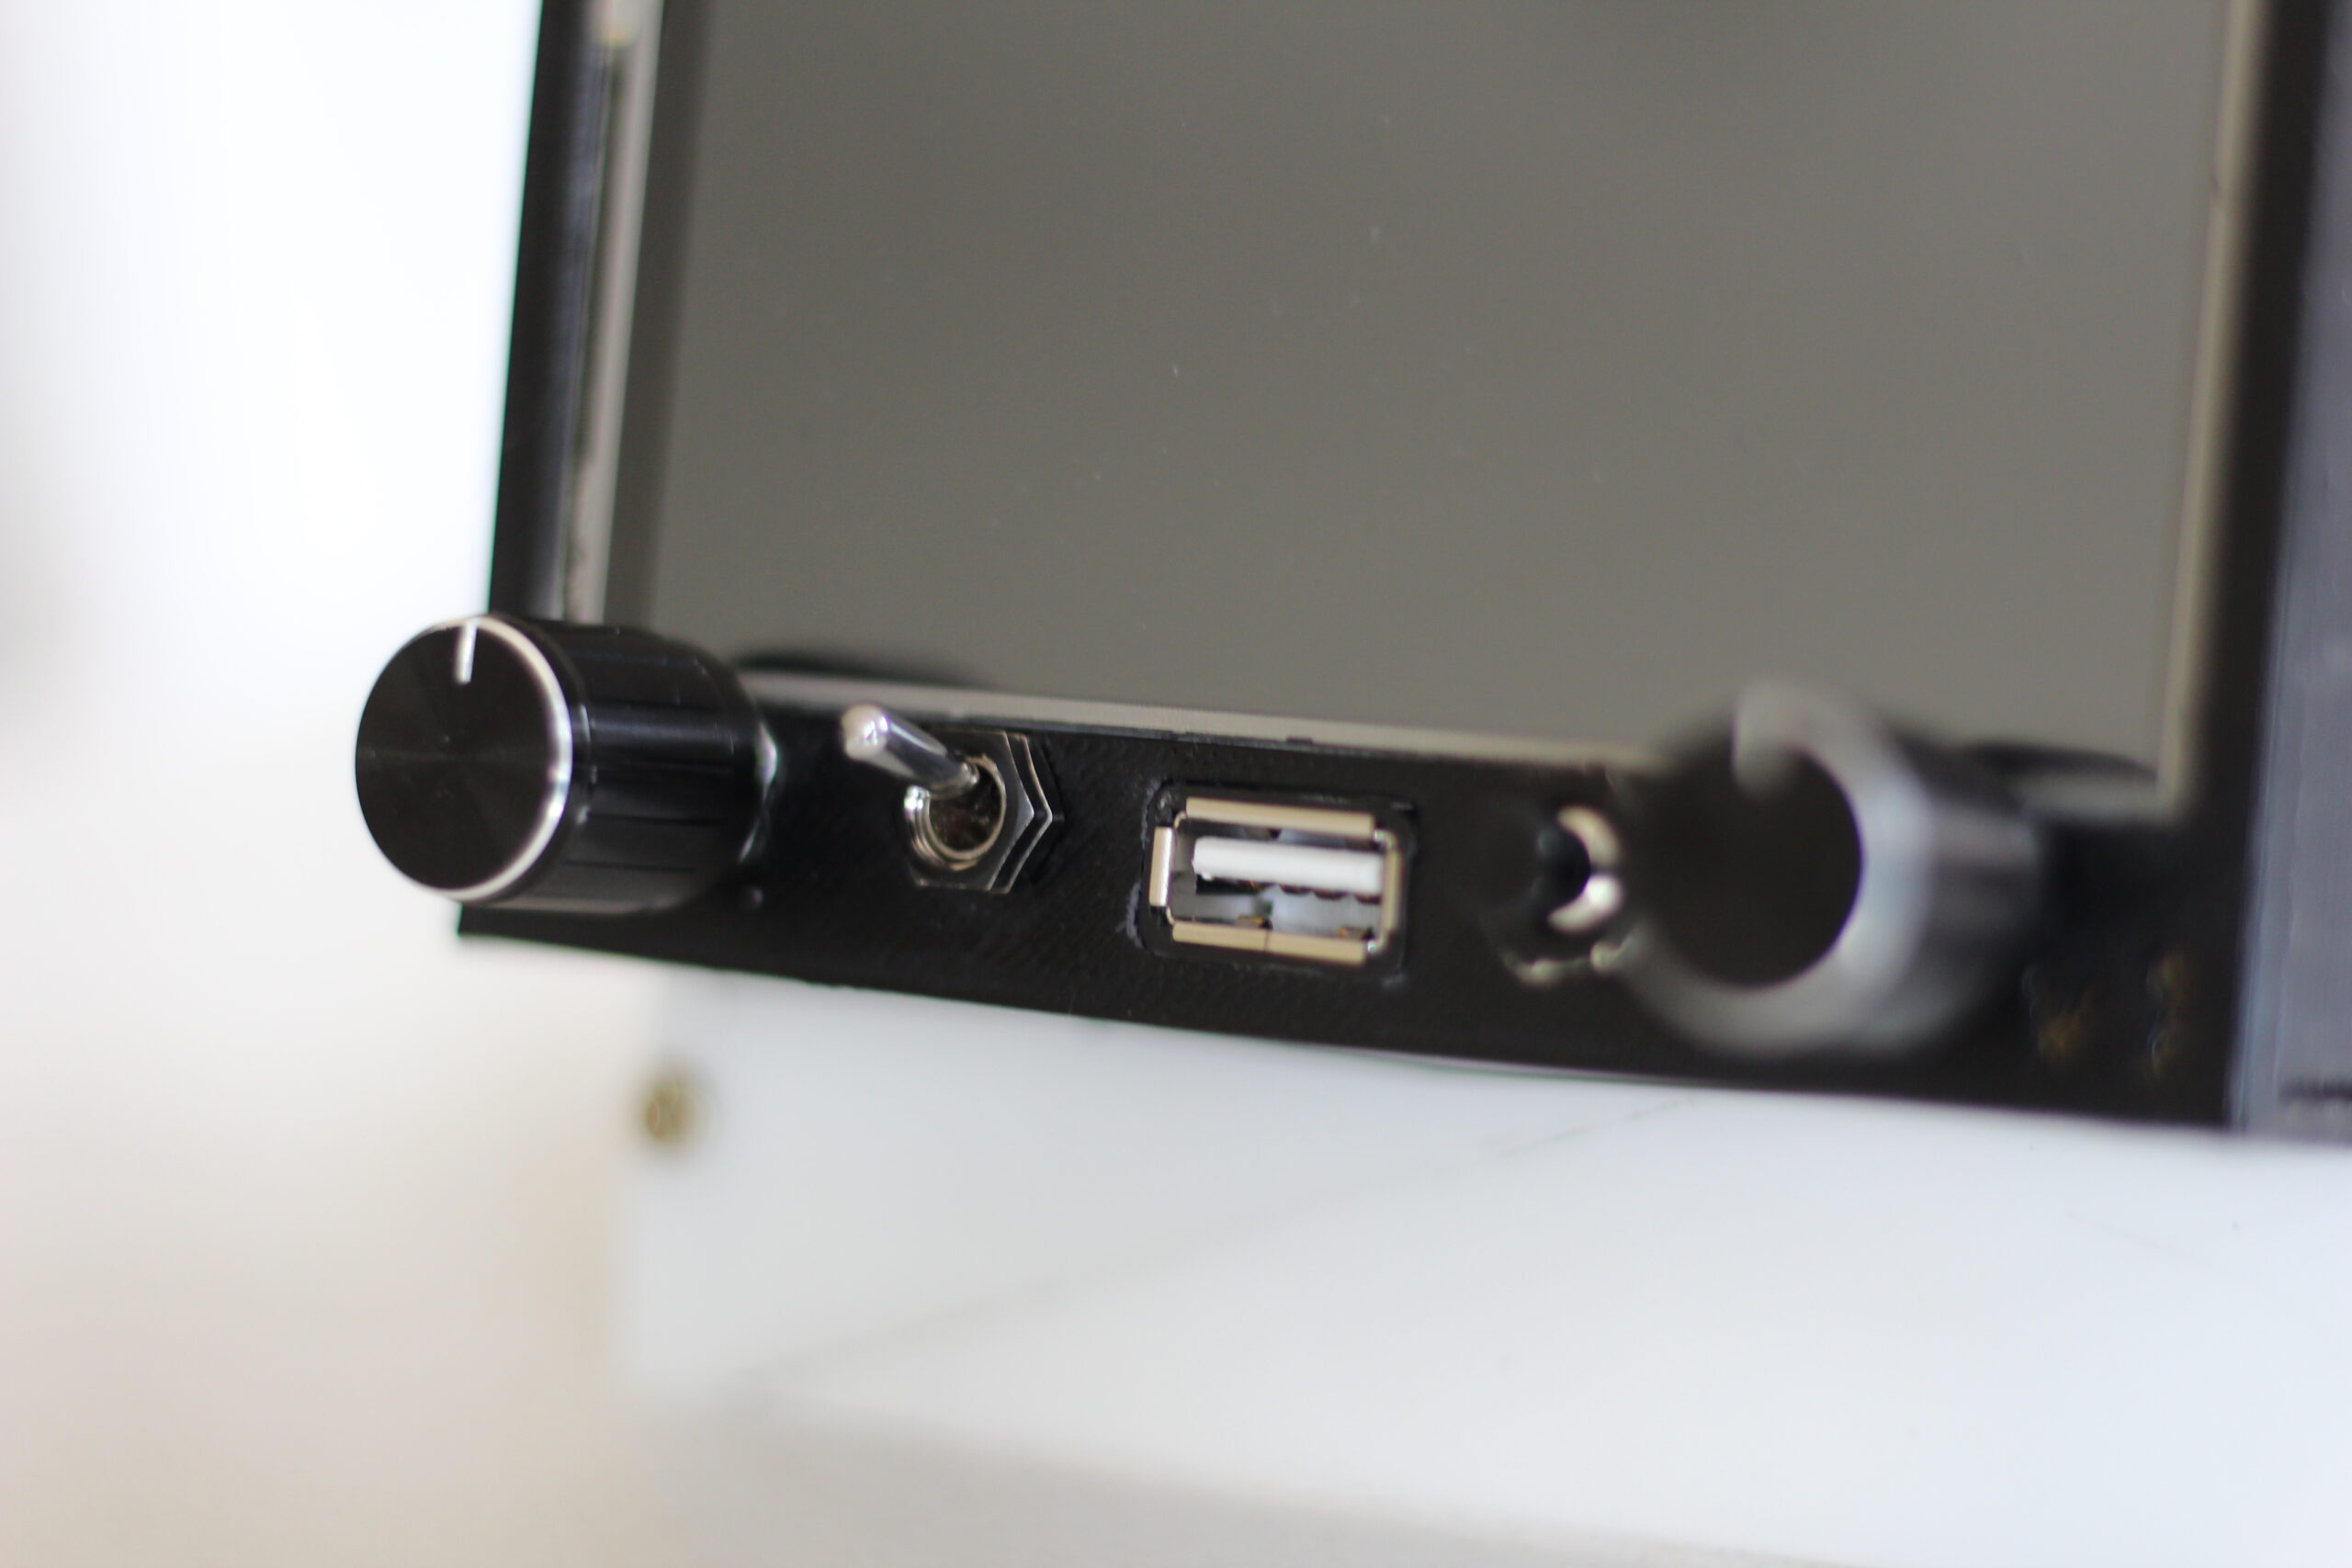
At this point everything is in and only a few cables needed some routing to make it nice looking 🙂
Next step to get the seat back and finish some other maintenance tasks 🙂

Leave a Reply
You must be logged in to post a comment.